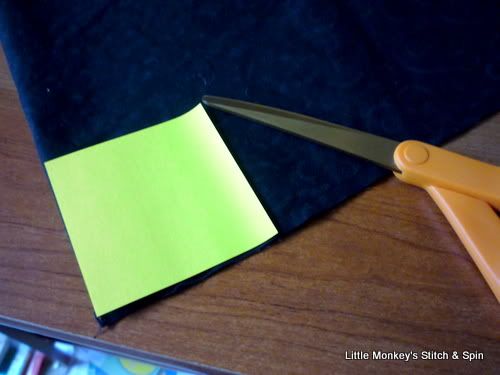
11. Cut a square out of the bottom two corners (the corner with the fold and one stitched seam) on both your lining and woven piece. The square should be half the length of the depth of the finished bag (If you want a bag that is 6" deep, cut the square to be 3" by 3")
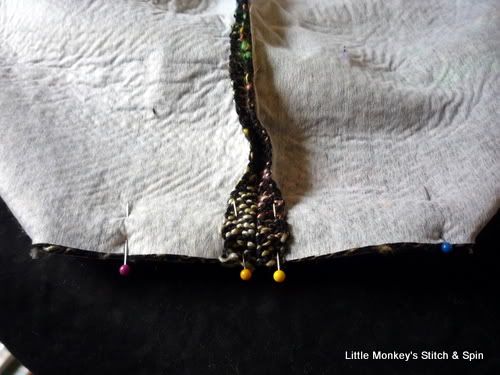
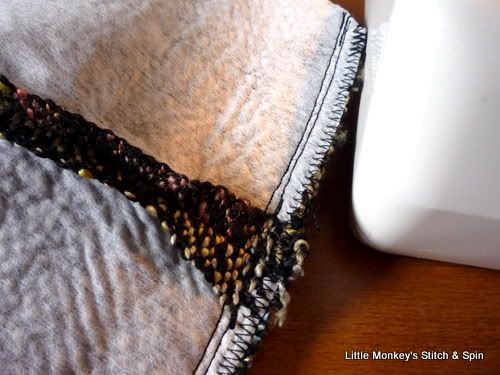
12. On the woven piece, open the cut corner, and fold it so that the stitched seam is in the center (see photo) and pin the two layers together.
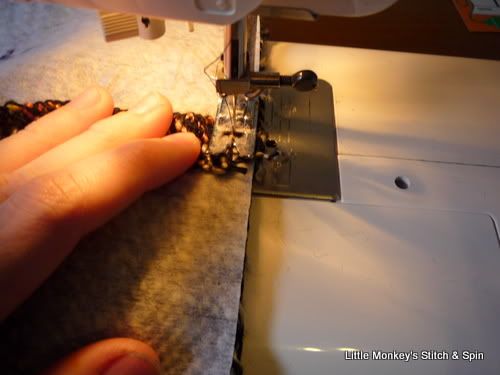
13. Stitch down the cut edge.
14. Go back and zigzag along the cut edge to secure the weaving, then stitch a second line of straight stitches just on the other side of the first line. (the second line of stitches helps reinforce the bag as this is a high stress point)
15. Repeat steps 12-14 for the other 3 corners.
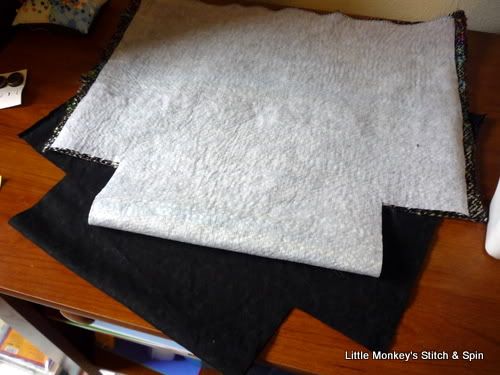
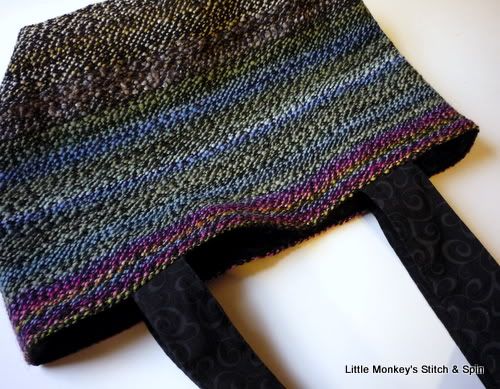
16. Turn the lining so that the right side is out, then stuff the lining into the woven outer, matching up the side seams.
For Fabric Handles
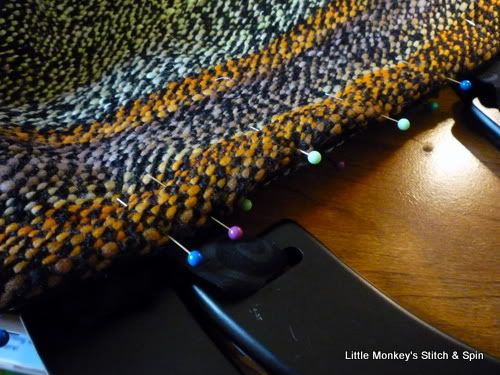
17. Place the handles on the bag as pictured, between the outer and lining layers and pin in place. (Make sure the handles are centered on the bag, and the same distance apart on both sides) Pin around the rest of the top of the bag. Stitch around the top of the bag, leaving about 4" open between one set of handles to turn.
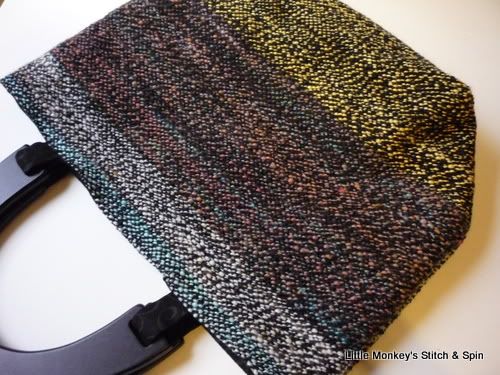
For Wooden Handles
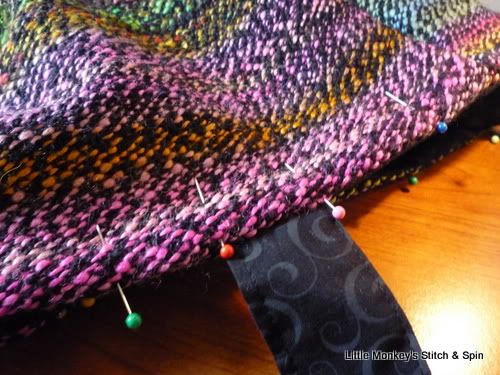
17. Cut the fabric strip into 4 equal pieces, then put 3 of them through the slits on the handles with the seam hidden towards the inside, and pin in place.
Pin the 3 fabric strips in place as shown (but with the handles between the outer and inner layers). Pin around the rest of the top of the bag. On the side of the bag where only 1 side of the handle is attached, place one pin just outside where you want to put the second fabric loop, and one pin about 1" inside the handle from the other fabric loop.
Do not pin or stitch between these two pins. Stitch around the top of the bag, leaving a large hole for turning between the two marked pins. Go slowly, as stitching with the heavy wooden handles in place is a bit clumsy. Carefully turn the bag right side out. (Hint: You will have to turn the handle on it's side to get it through the turning hole)
After turning insert the last fabric strip into the wooden handle, and pin in place on the bag.
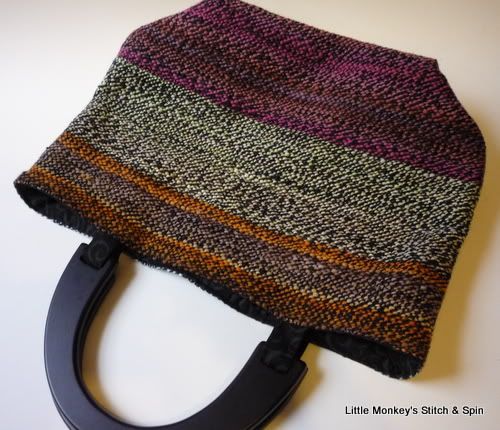
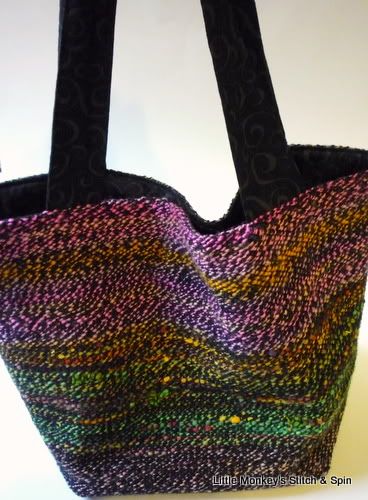
18. Topstitch around the top of the bag, and enjoy you newly finished tote bag!
Also see
Little Monkey's Stitch & Spin: Woven Tote Bag Tutorial: Part 2


No comments:
Post a Comment