Woven Tote Bag Tutorial: Part 2 (Washing and Starting Sewing)
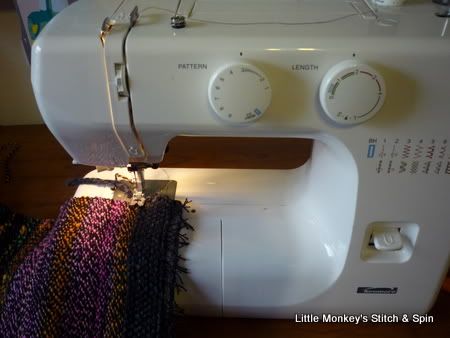
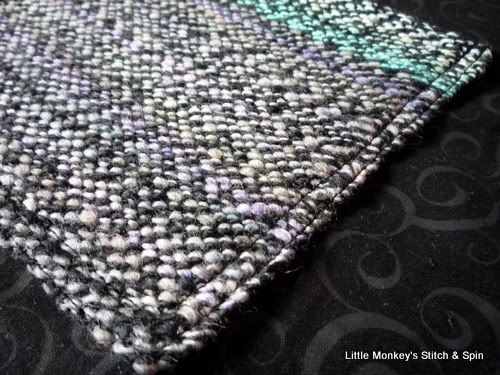
TIP: Make sure you run a zig-zag stitch down any cut edges of your weaving before sewing them onto another piece on the bag
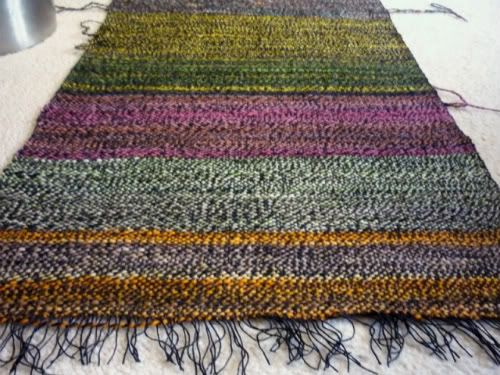
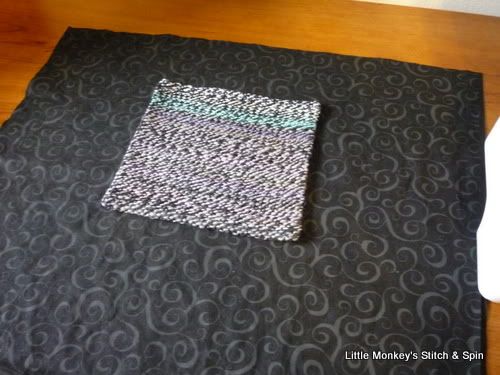
1. After you have finished weaving the outer fabric for you bag and removed it from the loom, run a zig-zag stitch down either raw edge with your sewing machine to secure the last few pics of warp int he fabric. Then wash and dry your woven piece. (Note: For mixed-fiber or non-superwash wools it is best to hand-wash and dry flat, superwash wools or cotton should be safe to be washed/dried in the machine)
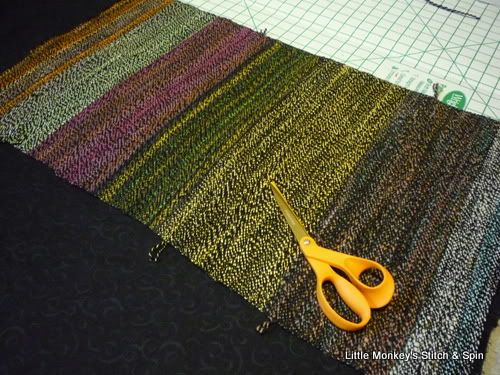
2. Iron a piece of fusable interfacing to the "wrong" side of your weaving. The interfacing should be cut to be just barely narrower than the woven piece before ironing (note: if your interfacing is too wide you will end up sticking it to your ironing board as well as your fabric, don't ask how I know!)
3. Cut a piece of your lining fabric to the same size as your woven piece.
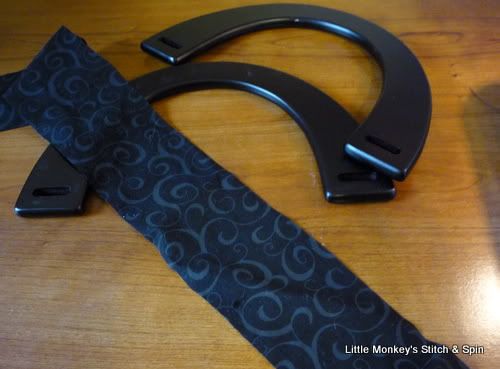
FOR WOODEN HANDLES
4. Cut a strip of fabric to use attach the handles.
The strip should be 1/2 in wider than twice the width of the wooden handle, and about 10" long (the slot in my handles is 3/4 inch wide, so .75*2 +.5 = 2", so I cut my strip 2" wide)
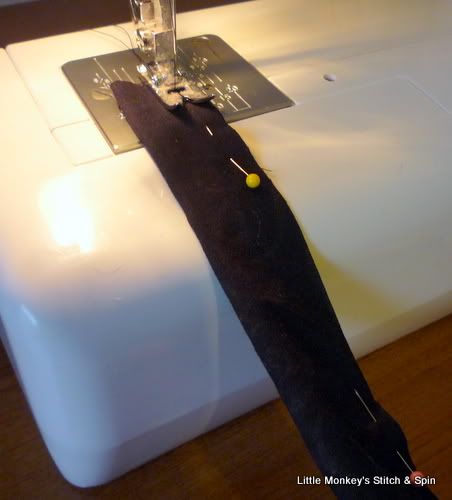
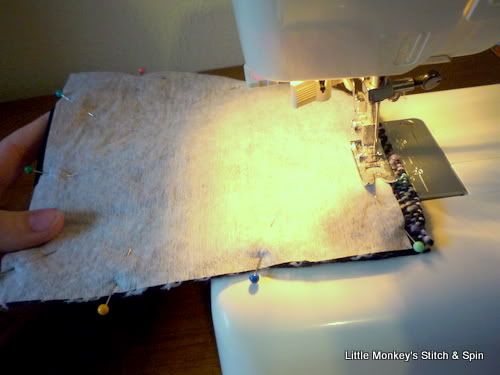
Fold the strip in half with right sides facing, pin, and stitch down the raw edge, creating a long narrow tube.
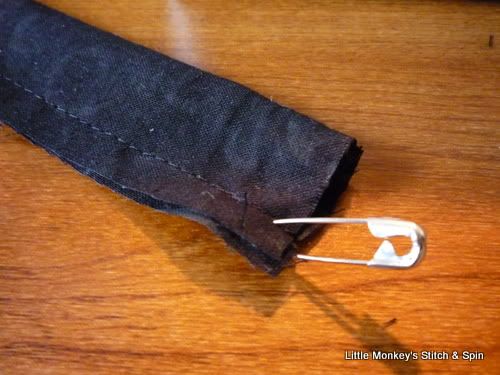
Turn the tube right side out (hint: pin a safety pin to the end and use that to help you turn the strip right side out)
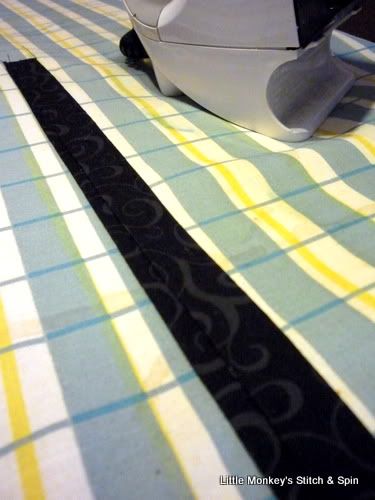
Iron the strip flat with the just-stitched seam in the middle. (Don't worry the seam will be hidden later)
FABRIC HANDLES
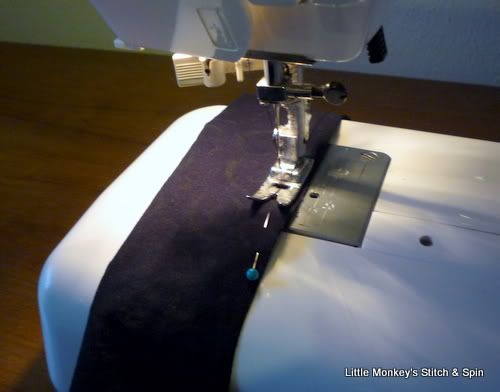
4. Cut a strip of fabric to use for your handles (the size is up to your preference, but I used a strip 44" long and 4" wide to get two straps that are 1.75" wide and 21" long). Fold in half with right sides facing, pin and sew into a long narrow tube.
Turn the tube right side out (using the pin tip from above), iron flat (with the seam along one side of the fold) and topstitch both sides of the strap.
POCKET OPTION
5. Cut two rectangles that are 1/2 in larger than desired pocket size. Pin together with right sides facing, and stitch around, leaving about 3" open on the middle of one side for turning. Turn right side out and press. Topstitch along the
top side only.
Pin pocket in place on the lining (I put my pocket 3" down from the top edge of the bag, make sure it is at least 2" from the top of the bag or it will get in the way when you add your snap closure later) and topstitch twice around the left, bottom, and right sides. (the double topsititching helps hold the pocket in as these can be higher stress seams)
6. Fold weaving in half along the warp with right sides facing, pin togather and stitch down the left and right selvedges. Repeat for the lining.
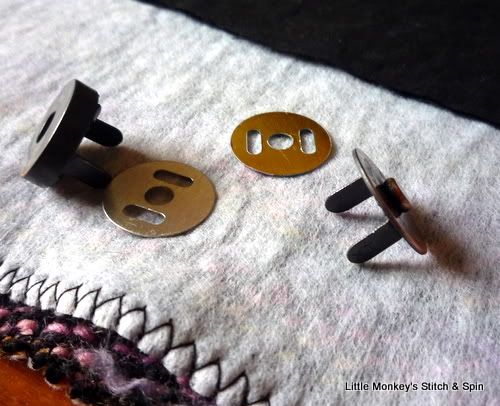
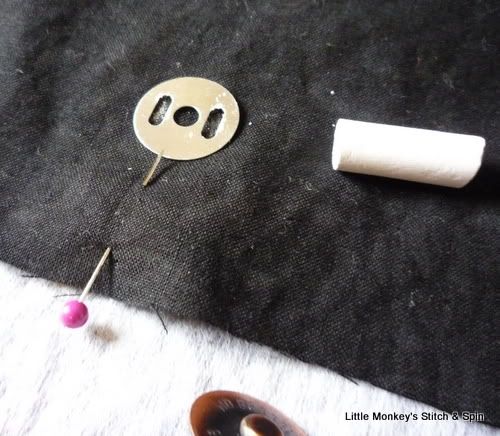
7. Place a pin at the top edge of the lining marking the top-center of the lining. Use a fabric marker (or piece of chalk for dark fabrics) to mark the slits fot the magnetic snap placement, and carefully snip the slits.
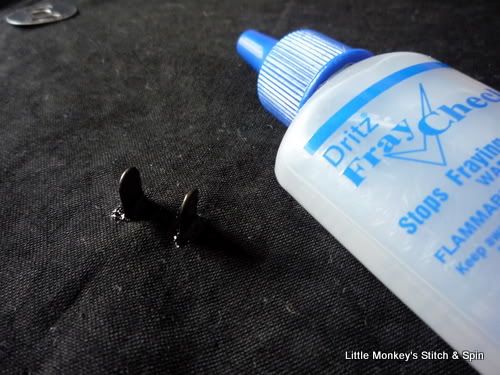
8. Insert one half of the snap (with the right side on the right side of the lining, and put a little fray check around the cut slits.
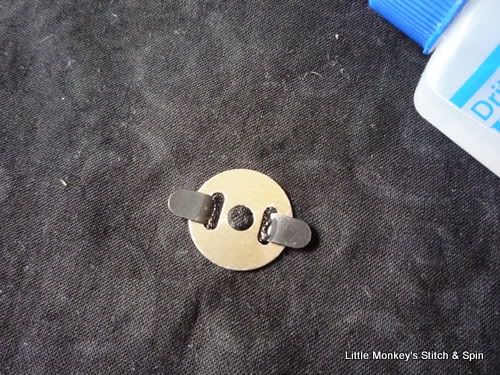
9. Put the metal piece on the other side and flatten the prongs.
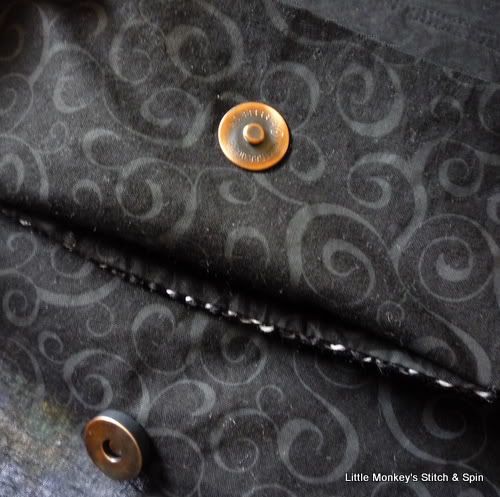
10. Repeat #7-9 on the other side for the second half of the magnetic snap set.
...
Stay tuned for the rest of the tutorial, coming soon! :)
Also see:
Little Monkey's Stitch & Spin: Woven Tote Bag Tutorial: Part 1 (Calculations)


thank you for the helpful tutorial :-)
ReplyDelete