Tuesday, November 26, 2013

A little selfish knitting...

It's the time of year to be busy knitting gifts, but I got caught up doing a little selfish knitting. The sweater is "Hermine" by Astrid Schramm, the hat is "Sockhead Hat" by Kelly McClure.

Thursday, November 14, 2013

Shop Update Preview and a Coupon Code

Next shop update will be tomorow, Friday the 15th at 1PM central. So many new goodies will be listed, I'm not sure if my shelving will hold them all!

Are you ready for a pre-holiday sale? Through Nov 18th, spend $30 or more take 10% off with coupon code "TAKE10", spend $60 or more take 20% off with code "TAKE20", spend $100 or more take 30% off with code "TAKE30". Happy Holiday Knitting everyone!


Saturday, November 9, 2013

Kid n Ewe 2013

Are you having fun at Kid n Ewe this year? I certainly am. There are almost too many lovely goodies to choose from! Okay , who'm I kidding... You can never have too much yarn and fiber. Sock yarn doesn't count as stash right?

Friday, November 8, 2013

Free Pattern Friday: FauxPurl Cowl

 A simple no-purl cowl worked in rounds. The faux-purls are created using short row techniques, but with working in full rounds after wrapping and turning. Cowls pictured use the random method as described below.


Materials:
2-5 oz of Worsted or Aran weight yarn (bulky yarn may be substituted at a looser gauge) Small cowl can be made with about 2 oz of worsted wieght yarn
Size US 8 / 5 mm circular needles (16" needles, longer DPNs or 40" or longer for magic looping) two stitchmarkers

Gauge:
9 stitches / 2 inches in garter stitch knit flat
10 rows / 2 inches in stockinette

Size: Small, Large; 20" (40") circumference

Options:
For a larger cowl cast on more stitches, For a cowl worked in bulky weight yarn you may wish to cast on fewer stitches and work at a looser gauge.

Abbreviations:
CO - cast on
K - knit
BO - bind off
pm - place marker
w&t - wrap and turn
Note: do not pick up wraps on rounds following the w&t, they will be hidden nicely in the purl bumps of the following row.


CO 90 (180) sts.

Join for working in the round being careful not to twist your cast on row.

1. K1, pm, k to last st, pm, k1, w&t. (Note: You will now have two stitchmarkers, placed twos titches apart, one just after the first stitch of the round, one just before the last stitch of the round. The begining of the round is right in the middle of the two markers.)

2. k1, sm, k to marker, sm, k1, w&t.

Repeat round 2 until piece measures 1" from cast on edge.

3. K around, slipping markers as you go.

Planned Method: Work round 3 five times total.
or
Random Method: Using a random number generator, pick a number beteween 0 and 9, and work round 3 that many times.

4. Turning Round: k1, sm, k to marker, sm, k1, w&t.

Using either the planned method or the random method, work rounds 3-4 until cowl measures 1" from desired width.

5. k1, sm, k to marker, sm, k1, w&t.

Work round 5 for 1"

Bind off loosely.
 

Monday, October 28, 2013

Spinning Wheel Makeover, Doctor Who style!

A few weeks ago I worked a little makeover to my travel wheel. The wheel is a Spinolution Queen Bee, and I absolutely love it. So portable and a great range of ratioes, and having an onboard lazy kate is wonderful for travel.


I started with two samples of Spoonflower's custom printed wallpaper, each sample was just a bit larger than the back of the wheel, so there was plenty extra space to play with getting the perfect placement of the print.

I began by trimming the wallpaper sheet, cutting it down to about 1/2 inch wider on all sides than the wheel, and then carefully trimming a few holes in the back where there are metal bits that poke out from the back (to make sure that the wallpaper would lay flat when applied, and keep it from sticking to those moving parts.) I cut the holes just large enough to fit around the metal bits, and trimmed them to their final size later, so that I would have a bit of wiggle room in the application. Then I took a bit of painter's tape and covered all the metal bits and moving parts to protect them from the wallpaper glue. Following the directions I wet and applied the wallpaper, and let it dry for a full 24 hours. I also applied wallpaper to the front of the wheel similarly, pre-cuttung the inner circle for the wheel to the desired size and cutting it just a bit wider than the accelerator wheel (this application was a bit trickier than the back to be able to slide it in between the two wheels without making a mess. I also added a few randomly sized circles on the front side.


When it was fully dry, using a very sharp razor blade, I trimmed off all the extra paper. Then put on about 4 thin layers of semi-gloss(since the wheel finish already had a bit of a semi-gloss finish to it) modge podge , letting each layer dry 12 hours before adding the next. Then removed the painter's tape after everything had fully dried.

The spoonflower wallpaper is supposed to be easily removable, so I figured that the modge podge would help keep it from peeling off spontaneously, and should also prevent any scuff marks or discolorations. (whenever I stick the wheel in a bag for travel)

I'm pretty happy with the results, and so far I haven't had any issues with it wearing or causing any problems with spinning.
 

Wednesday, July 10, 2013

More from Tour de Fleece

A couple finished yarns, one from cloud lover fiber, one from a loop bullseys bump. Starting in on some merine....

Tuesday, July 2, 2013

Tour de Fleece Day 4

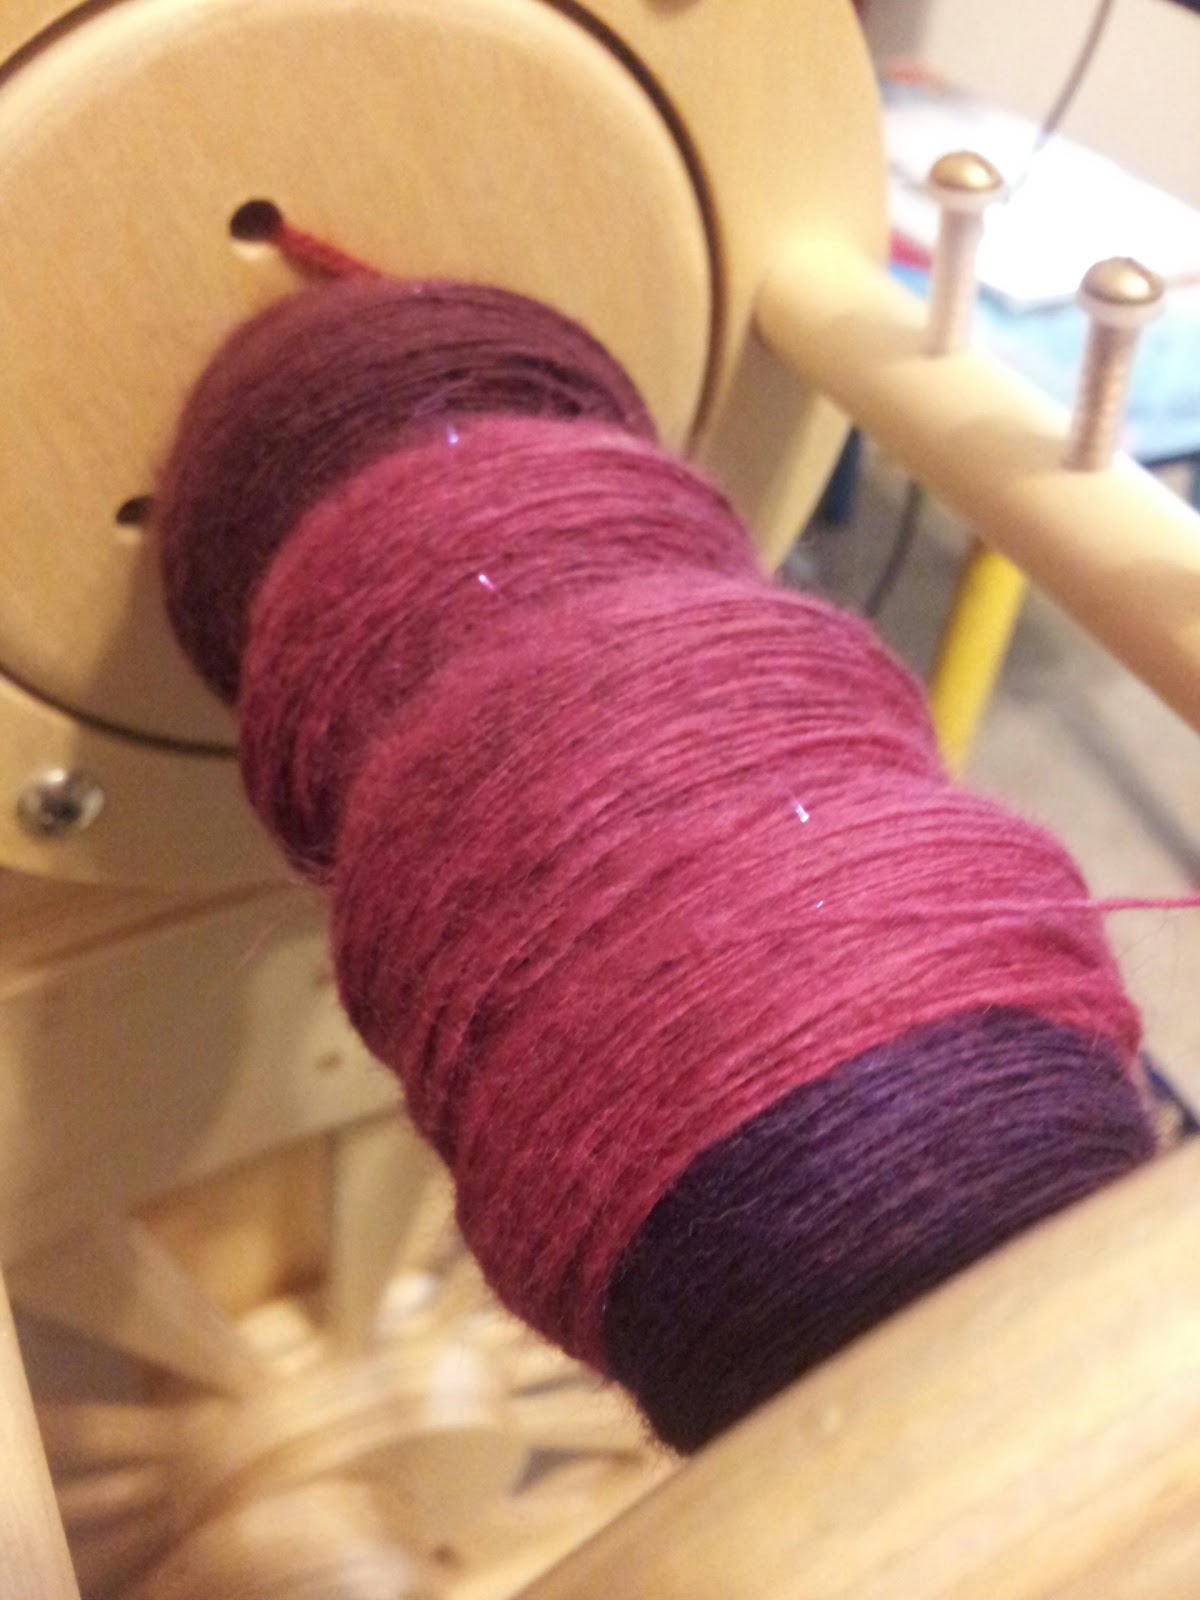
I'm working on another Loop! Bullrseye bump today, about halfway through or so. The transitions on this bump are so gradual I can hardly wait to see how this will knit up!
Monday, July 1, 2013

Tour de Fleece 2013

So are you spinning for tour de fleece this year? I decided that my goal this year to to push myself to perfect my n-plying and to work on spinning thin (as my typical yarn is a 2 ply dk to worsted weight) I recently got a new wheel... well two new wheels... a Spinolution Mach III and a Spinolution Queen Bee, the Bee is perfect for travel and for laceweight singles since it has ratioes up to 1:36, the Mach III is great for at home use (though it stays in my studio mostly as it is a little heavy to move) and has a standard bobbin that will fit up to about 8 oz of yarn!

So far during the tour this year, I've spun a loop! Bulleseye bump (437 yds of not quite perfect n-plied) some merino bamboo singles, and a 3ply sport/heavy fingering polwarth silk... Not a bad start!

Wednesday, December 19, 2012

Socks and a mini Hotshot

Woohoo, I have two FOs to share with you today. The Purl Ridge Socks are done and the teddy bear mini Hotshots for my boy's stockings. I'm sure the boys will be excited to have matching sweaters for their teddies.


Monday, December 17, 2012

Just keep knitting...

You know that point in a large project when you realize exactly how huge of a project it is? Well, I've hit that point. Twice in one week.


First on this laceweight shawl, Clarus. My original goal was to knit the large size in laceweight, but since I'm on the first repeat of row 53 now, I'm not sure if my patience is going to hold out for that.


Then there's my first knit blanket project.... This is the Hue Shift Afgahan from Knit Picks, and I am really loving how the colors are coming together now that there are a few more squares on the blanket. My original goal was to finish 1-2 squares daily on this, but I think I am really averaging about 4 a week... Oh well, that will still get it finished in less than a year...


In the meantime I've cast on for these socks (no I'm not procrastinating, the yarn was calling to me!)
and have finished up this little beaded necklace.


I still need to finish the last few rows of a teddy bear sweater for my younger son's stocking. Hopefully I get around to that before the 24th.

Sunday, December 16, 2012

Purl Ridge Mittens

Thanks to everyone who submitted name ideas for the fingerless gloves, the winner is Emily with "Purl Ridge Fingerless Mittens" The pattern is now available on Ravelry.

Monday, December 10, 2012

Holiday knitting!

Are you ready? Christmas will be here in two weeks!

I just got a little holiday knitting finished over the weekend, a Magnolia Crescent Shawl (not going to say for who just in case she's reading this later) and this lovely beaded bracelet/necklace (Ribband by Laura Nelkin). Both were pretty quick knits, about 12 or so hours for the shawl, and about 3 for Ribband, so they've great for gift giving (but I think I'm a little too attached to the sparkly beads to actually give that one away)

Tuesday, December 4, 2012

December Craft-a-long

Just in time for your holiday fiber crafting, join our December Craft-a-long, all fiber related crafts are welcome!

What to do:
  • Finish a project in December using any LMSnS yarn, fiber, or pattern,
  • create a Ravelry project (or yarn listing for handspun) with photos,
  • and post a picture to the entry thread in the LMSnS Ravelry group. (Entry thread will be posted to the group on Dec 1st)
You project does not have to be started in December (WIPS count!).
Fine print: Project should contain at least 2 oz of LMSnS yarn or fiber (you may add yarn or fiber from other sources as long as at least 2 oz of what is used is from LMSnS), or be made from a LMSnS pattern (one entry per person per pattern please)
Prizes!
At the end of the craft-a-long at least two prizes will be awarded (based on participation, I may add more prizes to the list as we go…)
  1. $20 gift card for LMSnS.
  2. Choice of any one LMSnS pattern from Ravelry.
Lots of new project bags and stitchmarkers instock today!

Sunday, December 2, 2012

Fingerless Mittens for the whole family, and a pattern giveaway!

I've been playing with a new design, so I knit four pairs of fingerless mitts last week. It's really interesting how the exact same yarn can look so different when it's knit up into different sizes. But now the problem is, I'm a little bit stuck on the name... So, post your name ideas in the comment section below. I'll pick a name for the pattern on (or near) December 15th, and whoever's name idea I use will recieve their choice of one of my PDF patterns.